

Self-tapping screws are incredibly useful in a wide range of applications, from DIY projects at home to large-scale industrial manufacturing. But achieving a secure fit with these screws isn’t always as straightforward as it might seem. As a self-tapping screw supplier, I’ve seen firsthand the importance of getting it right. So, let’s dive into how you can ensure a secure fit with self-tapping screws.
Understanding Self-Tapping Screws
First off, it’s important to understand what self-tapping screws are. These screws are designed to create their own threads as they are driven into the material. They eliminate the need for pre-drilling in most cases, which makes them super convenient. There are different types of self-tapping screws, each with its own unique features. For instance, Round Head Tapping Screw has a rounded top that sits above the surface of the material. It’s great for applications where you want a smooth, finished look without the screw head being flush.
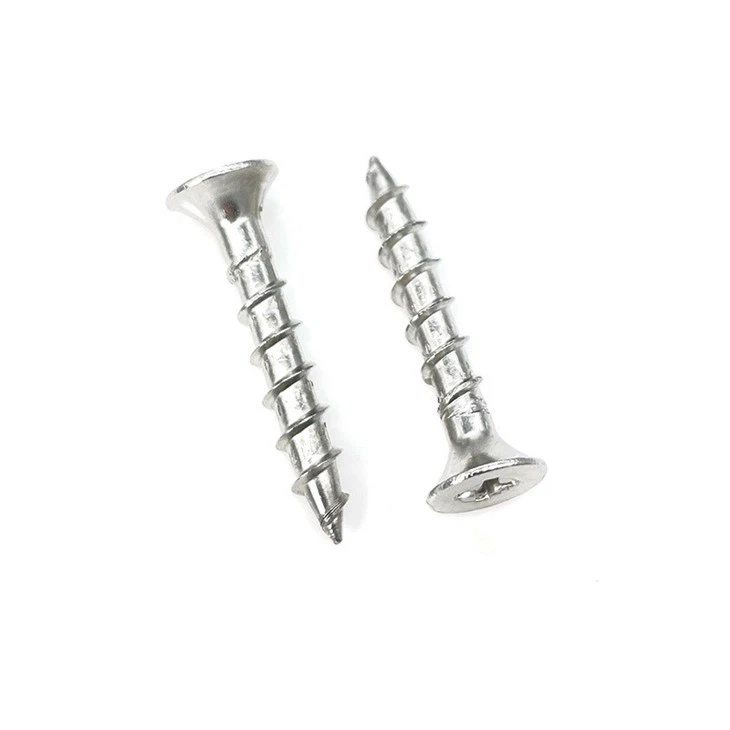
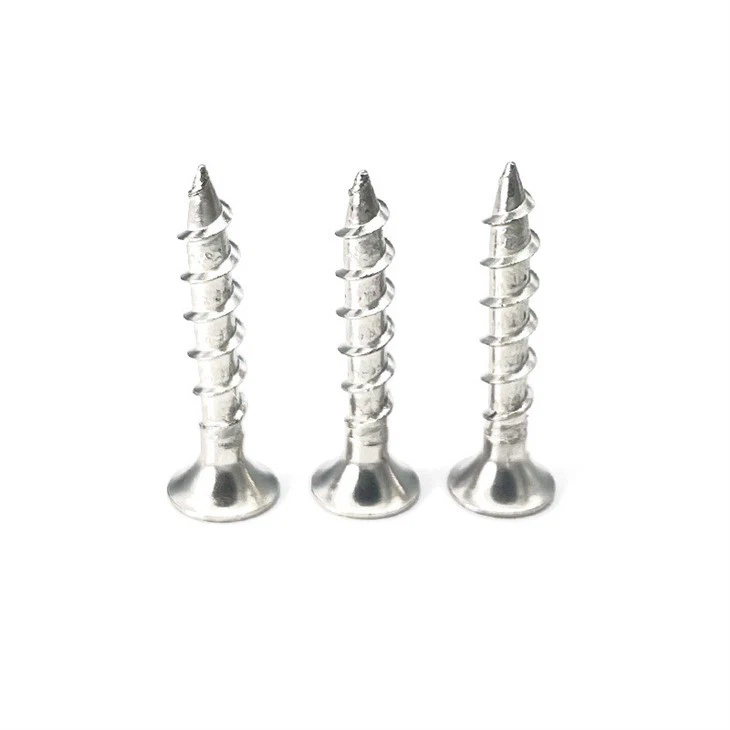
On the other hand, Countersunk Head Tapping Screw is designed to sit flush with the material surface. This type is ideal when you need a flat surface after installation, like in cabinetry or furniture making. And then there are Bugle Screws, which have a unique shape that’s great for attaching drywall. They’re designed to prevent over-driving and create a smooth surface.
Selecting the Right Screw
The key to a secure fit starts with choosing the right screw for the job. You need to consider the material you’re working with. If you’re dealing with soft materials like wood, a finer-threaded screw might be a good choice. These screws can grip the wood fibers better and provide a more secure hold. For harder materials like metal or plastic, you’ll want a coarser-threaded screw. The coarser threads can cut through the tougher material more effectively.
The length of the screw is also crucial. If the screw is too short, it won’t penetrate deep enough to create a solid hold. On the other hand, if it’s too long, it might go through the material and cause damage or an uneven surface. As a general rule, the screw should penetrate at least half of the thickness of the material it’s going into.
Preparing the Material
Even though self-tapping screws can create their own threads, sometimes prepping the material can help ensure a better fit. For very hard materials, pre-drilling a small pilot hole can make it easier for the screw to penetrate. The diameter of the pilot hole should be slightly smaller than the root diameter of the screw. This way, the screw can still cut its own threads as it goes in, but it won’t have to work as hard.
When working with wood, make sure the surface is clean and free of any debris. If there are any knots or hard spots in the wood, you might need to adjust your drilling or screwing technique accordingly. For metal, it’s a good idea to deburr any sharp edges around the hole to prevent damage to the screw threads.
Using the Right Tools
Using the correct tools is essential for a secure fit. A good-quality screwdriver or drill is a must. Make sure the bit you’re using is the right size and shape for the screw head. If the bit is too small, it might not engage properly with the screw, leading to stripped heads. If it’s too large, it could damage the screw or the material.
When using a drill, set the torque correctly. Over-tightening the screw can cause it to break or strip the threads, while under-tightening won’t provide a secure hold. Some drills have adjustable torque settings, which can be really helpful in getting the right amount of tightness.
Installation Techniques
When installing self-tapping screws, start by aligning the screw with the hole or the spot where you want it to go. Apply gentle pressure as you start turning the screw. Let the screw do its job of creating the threads. Don’t force it too hard, especially in the beginning. If the screw seems to be struggling to turn, stop and check if there’s an issue with the material or the screw itself.
As you drive the screw in, keep it straight. A crooked screw won’t create a proper thread and might not provide a secure fit. If you’re using a drill, make sure it’s perpendicular to the surface of the material.
Testing and Inspection
Once the screw is installed, it’s a good idea to test the fit. Give it a gentle tug or try to move the materials that are being held together by the screw. If there’s any movement or if the screw feels loose, it might not be properly secured. In this case, you might need to remove the screw and try again.
Inspect the screw and the surrounding area. Look for any signs of damage to the screw threads, the material, or the screw head. If the screw head is stripped or the threads are damaged, the screw won’t provide a secure hold.
Maintenance and Long-Term Security
To ensure the long-term security of the self-tapping screw installation, it’s important to consider the environment. If the application is in a humid or corrosive environment, choose screws that are made of corrosion-resistant materials. Regularly check the screws for any signs of wear or corrosion. Tighten any loose screws as needed.
Conclusion
Ensuring a secure fit with self-tapping screws involves a combination of choosing the right screw, preparing the material, using the correct tools, and following proper installation techniques. By paying attention to these details, you can make sure that your self-tapping screw installations are both strong and long-lasting.
If you’re in the market for high-quality self-tapping screws, we’re here to help. We offer a wide range of self-tapping screws, including Round Head Tapping Screw, Countersunk Head Tapping Screw, and Bugle Screws. Contact us to discuss your specific needs and let’s work together to find the perfect solution for your projects.
References
- Machinery's Handbook, 31st Edition
- Fastener Technology Handbook